Getting Started with Planbook Plus
Thank you for your interest in Planbook Plus! We are working hard to make Planbook Plus the easiest, most powerful lesson planning software available. Stay tuned as we continue to improve Planbook Plus and add more features. Getting started with Planbook Plus consists of just two steps.
- Defining the structure of your lesson plan
- Adding a lesson plan
But we could simplify that further and start with one step – adding a lesson plan.
To get started, I would recommend entering a few lessons into Planbook Plus. Later, you can customize the lesson plan template so that the template data is more meaningful to you.
This tutorial will touch base on the following three main screens in Planbook Plus.
- The Calendar view
- The Weekly Planner
- The Timeline view
The Calendar is great for daily and weekly planners. The Weekly Planner is fantastic for editing plans for the week and honing in on the specific components of lesson plans. The Timeline feature is where you can do long-term planning by mapping standards, lessons and units.
Calendar View
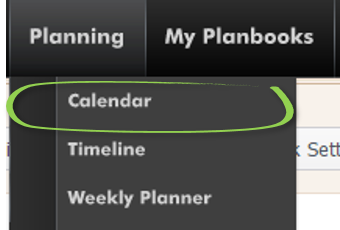
Let’s start at the calendar view. If you just logged in and are viewing the Getting Started page, click the Planning menu, then the Calendar sub-menu.
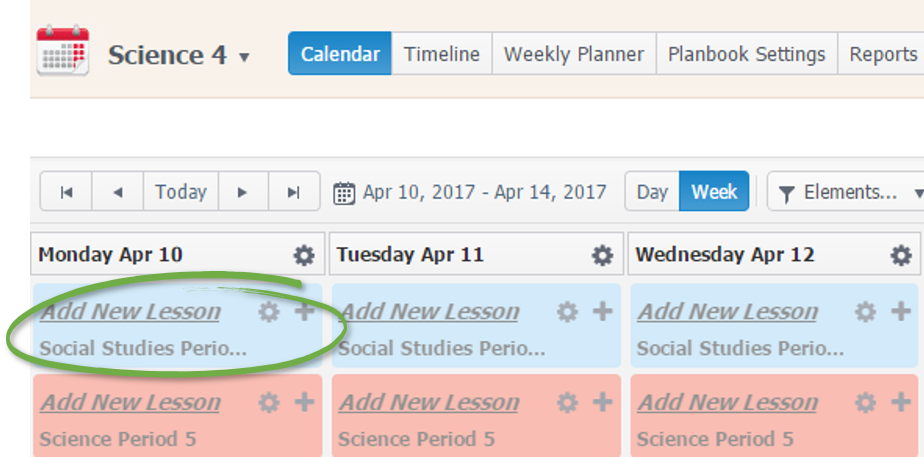
From the calendar view, let’s add a lesson plan for a specific day by clicking the Add New Lesson placeholder for a specific day.
Enter a name for the lesson plan, and click the Add button.

The Add button will let you edit all the details of your lesson plan.
The Quick Add button will bring you back to the calendar.
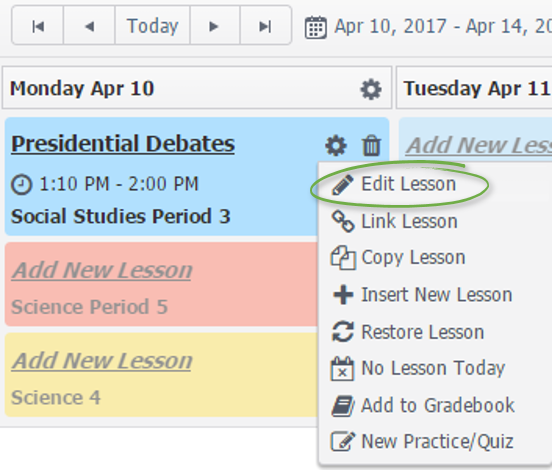
To edit the details of a lesson plan from the calendar click the gear icon next to the name of the lesson plan and select the Edit Lesson menu option.
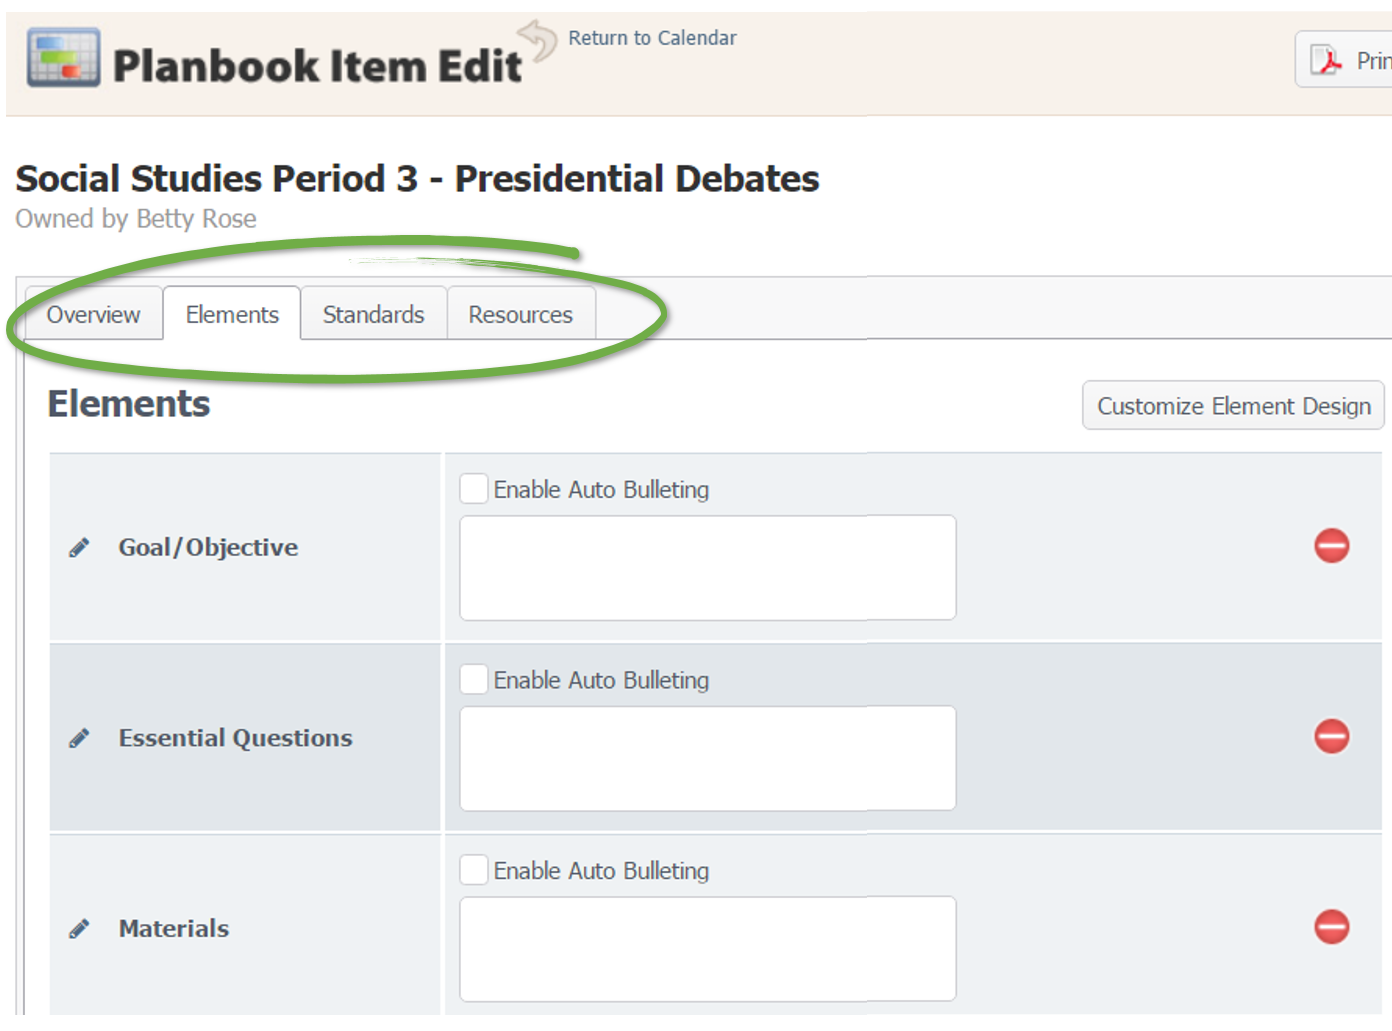
This screen allows you to enter all the details for a single lesson plan. Each lesson plan contains the following information.
- Overview. This is where you can change the dates and time of the lesson.
- Elements. This is where you enter the text narrative for your lesson plan.
- Standards. This is where you map learning standards to your lesson plan.
- Resources. This is where you attach files, website links, online lessons, and practice quizzes.
For the purposes of this tutorial, we will just enter the lesson plan elements. Enter some data for each element. I mentioned earlier that you can customize the lesson plan template. For now, let’s leave them as they are and enter some pertinent information. You do not need to fill in all of them, and notice, as you move from field to field the information is saved automatically.
Now let’s go back to the Calendar view by clicking the “Return to Calendar” link at the top of the screen.

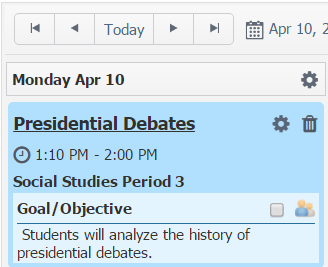
The Calendar View now displays the details you entered for your lesson plan.
What else can the Calendar do for you?
- Overlay all planbooks for a consolidated view of all lesson plans.
- Display the details of the lesson plan and use the Elements dropdown to show and hide specific lesson plan elements.
- Navigate easily from week to week or day to day.
- Add a lesson plan.
- Print lesson plans for the week.
- Reuse a lesson in another planbook.
- Insert a No School Day
- Bump a lesson plan
- Add a lesson plan to the Gradebook
- Create a new practice/quiz
- Link a lesson plan to another planbook
- Copy a lesson plan
- Delete a lesson plan
Weekly Planner
Now let’s navigate to the Weekly Planner.

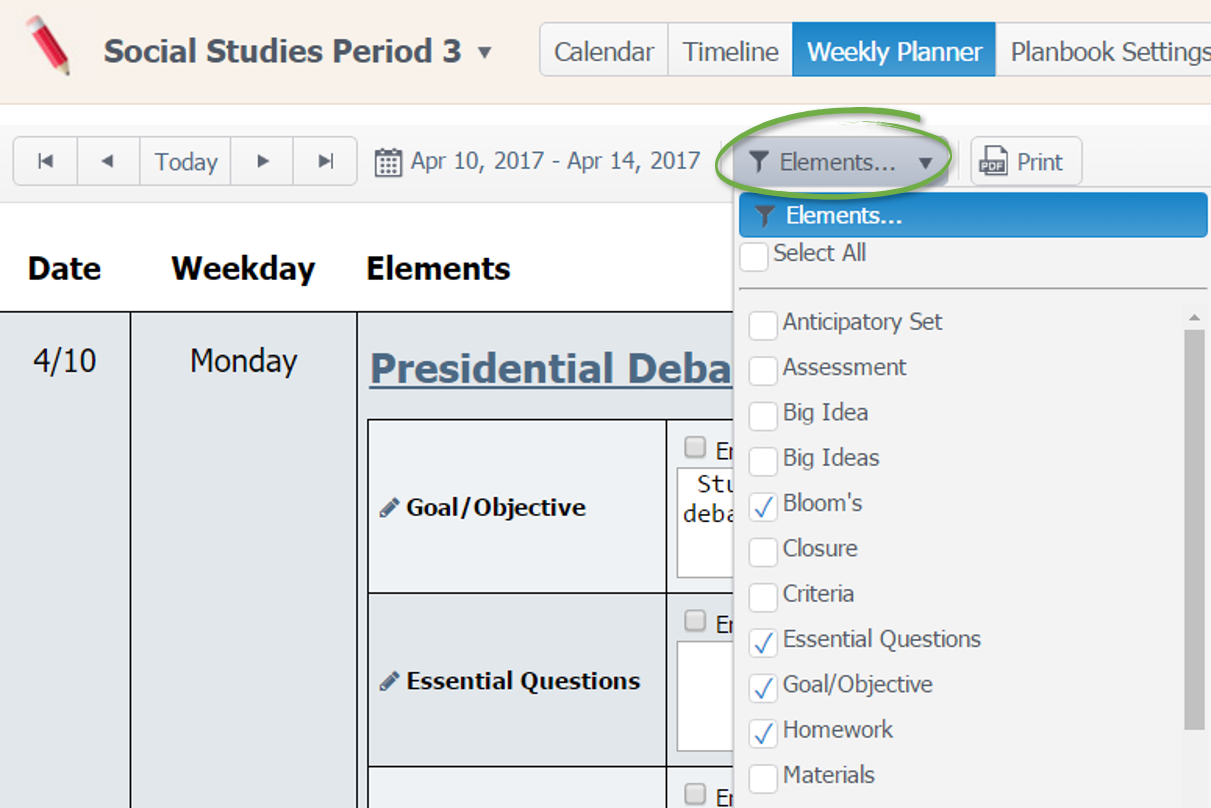
Our template displays a number of fields so the page may scroll a bit. No problem, use the Element Filter to change which components of the plan to view.
Just edit any field and click (or tab) out of it. Your changes are saved automatically!
This screen differentiates Planbook Plus from other approaches and solutions. Planbook Plus allows you to refine what you see to make the process of planning more efficient.
Timeline View
Lastly, let’s navigate over to the Timeline view.

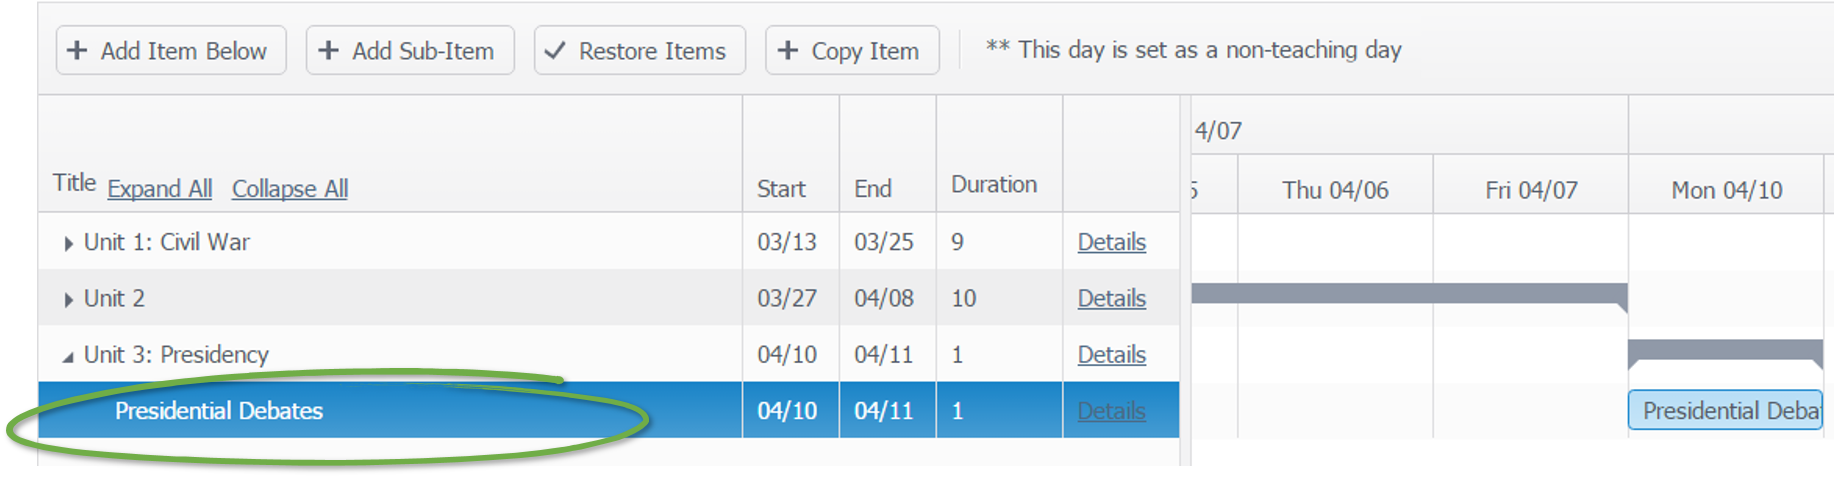
You will see your lesson plan there too. If you are using our sample, you should see our sample unit and lesson as well. If you prefer to plan by unit and lesson, this screen will provide a great mechanism for outlining those plans. Let’s do a few.
Click on the lesson plan you just added.
Then click the Add Item Below button. This will add a new lesson.
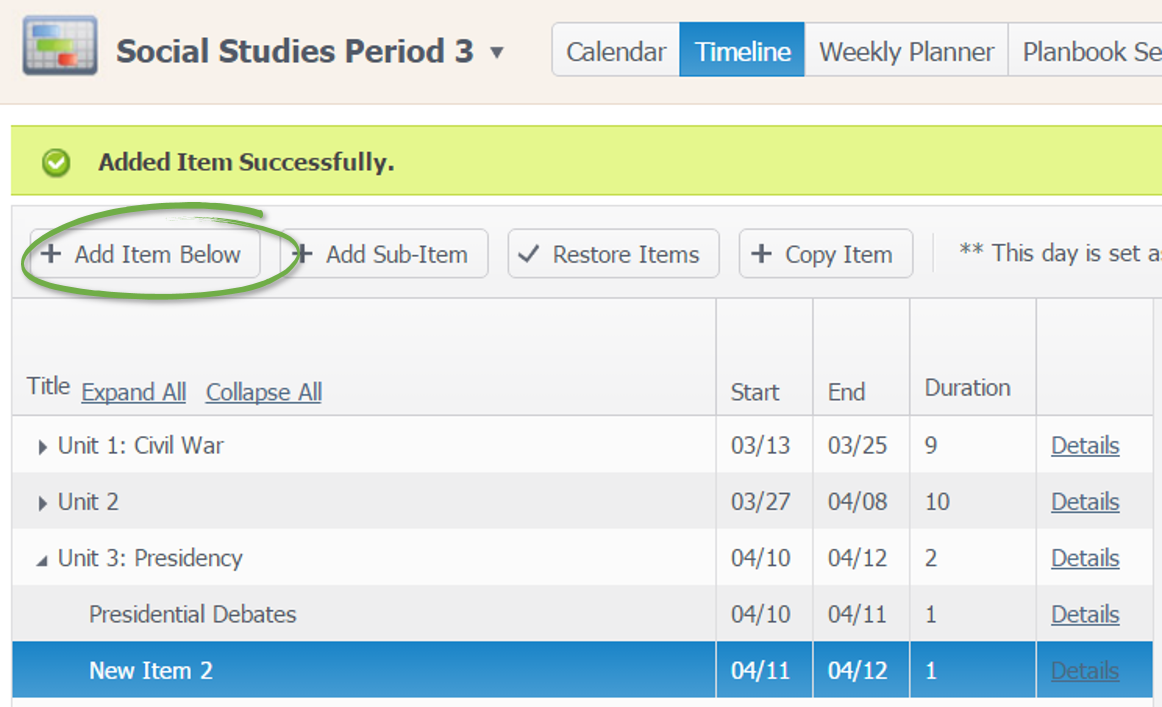
By clicking Add Sub-Item, you can turn your first item above into a unit, while the new item is a lesson in that unit. Click the Add Item Below several more times. This will add several lessons in that unit.
Renaming these units and lessons is easy. Just double-click the name, and it will allow you to edit the name. Click outside of the editable area, or hit enter key and it is saved.
This technique will allow you to easily outline an entire course. While there is plenty more to learn, this tutorial should give you a good feel for how Planbook Plus works. Check out more support videos here, or the Getting Started page in Planbook Plus with links to more videos.
Feel free to comment on Facebook, or provide feedback on our support forums. We are actively developing Planbook Plus and welcome your feedback.

Leave a Reply